
Life can get expensive. Filling your home and your wardrobe with pieces you love on a budget can be quite a challenge! I have been thrifting and garage saleing my whole life…before it was cool. When my Mom had 4 little ones under 5 on my Dad’s teacher salary, she learned how to shop, thrift and garage sale like a pro! And I’m very grateful for all the tips I’ve learned from her. When it came to decorating and organizing my home and buying clothes for myself and my family, thrift stores are my go-to. If you’re looking for some great thrifting tips, my sister has some great ones here. In this article, I’ll be recommending some items to be on the look out for when you hit thrift stores, antique stores, and garage sales.
1. Solid Wood Furniture and Shelves


2. Genuine Leather

3. Unique/ Old Items

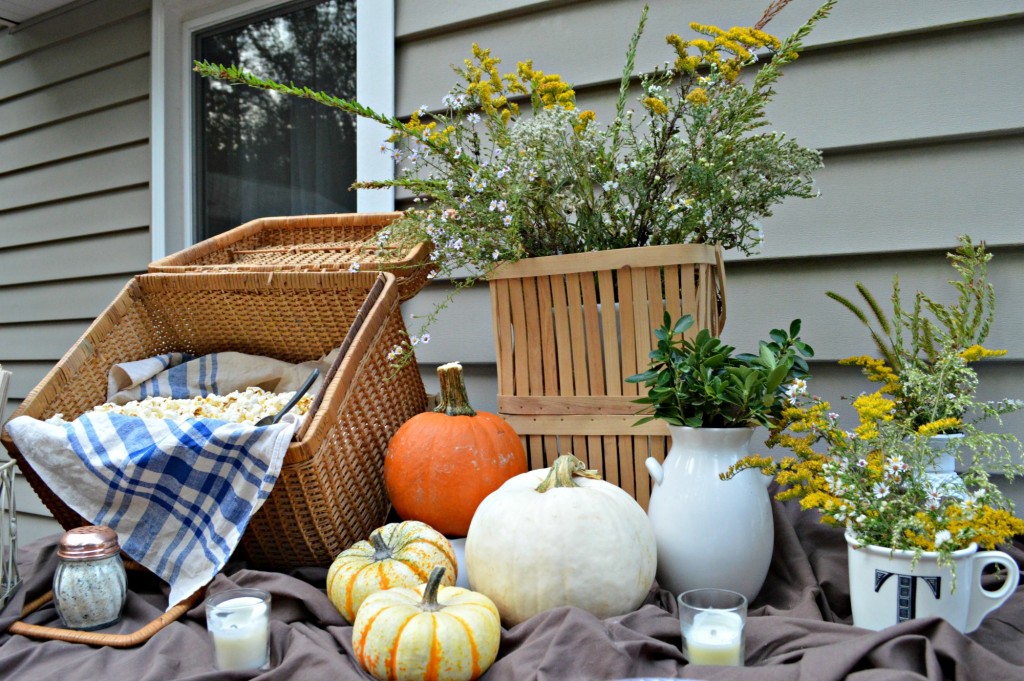
4. Baskets

5. Vintage Glassware


6. Name Brand Clothing- Especially with tags on them!

7. Linen napkins

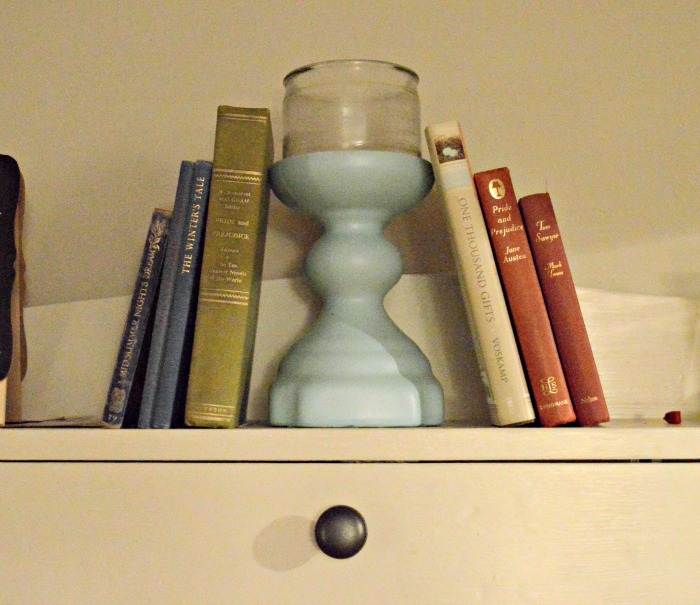
8. Books


9. Throw pillows

10. Wall Art/ Mirrors

11. Lamps

Used to be gold, navy and burgandy and I spray painted it white for a totally different look. Added a $10 burlap shade for a total of $13.
12. Organization Items

These are the items I always look for when thrifting. Always look for high quality, genuine leather, solid wood. Don’t settle just because you’re at a thrift store! Happy thrifting!